This site may contain product affiliate links. It won’t cost you extra but I might be paid commission if you make a purchase after clicking on one of these links.
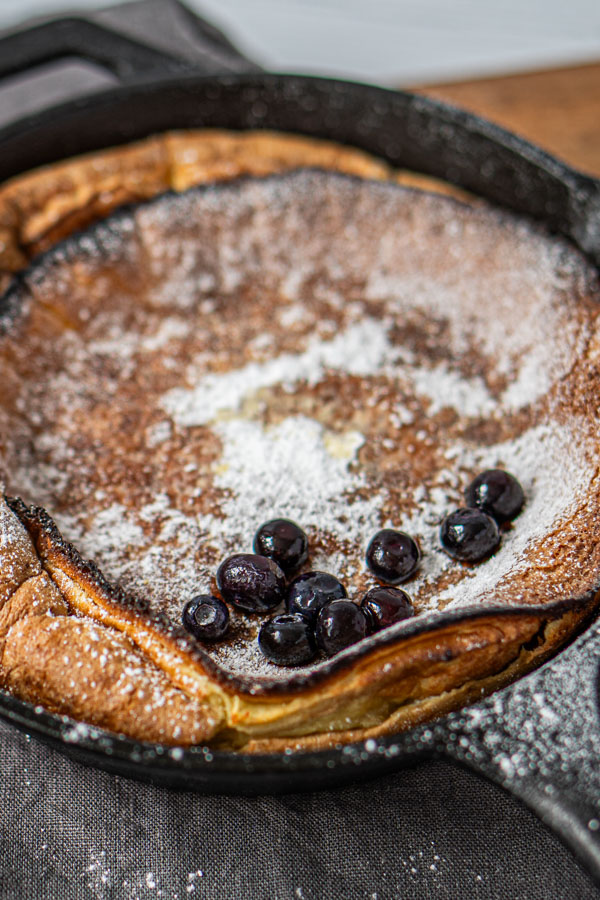
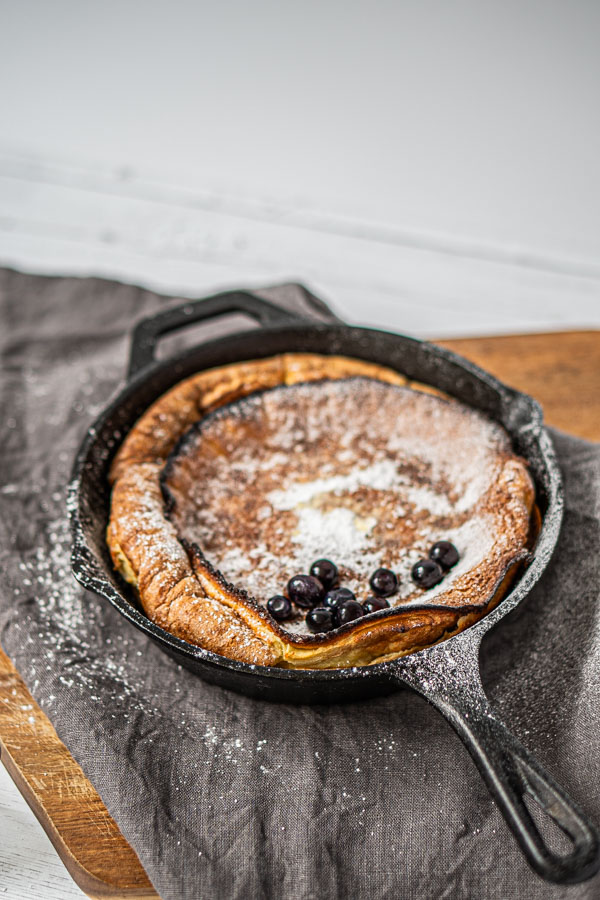
This is a very lavish, weekend breakfast. Sure, it takes more time than simply having a granola but it is also surprisingly low-key: all you do is make the batter and then bake it all in one batch so it saves you the time it takes to fry individual pancakes. No resting time either, so as soon as the oven is hot, you are good to go! Literally! Throw it in and come back 20 minutes later to enjoy the most spectacular breakfast you had this week.
Did Dutch baby pancake originate in Netherlands?
The name can be somehow misleading. It’s actually more German than Dutch. Or perhaps American in this case? It is believed it came to life in early XX century and was first prepared by Pennsylvanian Dutch- which is the German-American community in Mid-Atlantic region of the USA. This dish still remains popular in the area so you can come across many variations of it on American blogs.
Do I need a cast iron pan?
Technically you can get away with using a metal tin or steel pan that is oven safe. Steer away from loose bottom cake tins- I made that mistake years ago and it was a lot of mess to clean after. Naively I thought that just securing it with baking parchment will prevent the leak- spoiler alert: it didn’t. Ceramic baking dishes are also fine; Feel free to use round or square one, just make sure to adjust the amount of batter accordingly to the size of your dish.
Saying all of that I would highly recommend getting a cast iron pan. They are more affordable than you think, especially if you consider that some of them can easily outlive you. Just make sure to always clean them after each use, pat them dry and season with just a little bit of oil. Do not soak them in water and for the first few months of using them avoid cooking very acidic things in your cast iron pan- once your pan is seasoned more it shouldn’t be a problem to cook all your meals in it.
How to serve pancakes
Now on to the fun part. Once you get your pancake ready you can treat it as your blank canvas and add any extra toppings you fancy that day. Icing sugar, maple syrup and fruit are somehow classic options but feel free to get creative.
- Lemon and sugar
- Maple syrup and berries
- Icing sugar and melted butter
- Home made orange sauce
- Ricotta and fried peaches
If you plan on serving savoury Dutch baby pancake, reduce the amount of sugar in the batter to one spoon (or skip altogether).
Frozen or fresh berries?
Outside of the season or if I can only access supermarket produce I prefer to use frozen berries. Especially in this recipe they work out perfectly. If you take them out of the freezer when you start making the pancake they will be completely thawed by the time it’s time to eat. By using frozen berries you:
- use less plastic (it’s just one bulk bag rather than several plastic trays)
- save some money (that option is nearly always cheaper than buying little tray of berries at a time)
- get a better produce (berries are harvested at the peak of their season and frozen immediately so they contain more vitamins).

Dutch baby pancake
Equipment
- 1 cast iron pan (20 cm diameter)
- 1 trivet or wooden tray for cooling
- 1 whisk
- 1 bowl
- 1 hand mixer or blender with whisk attachment
Ingredients
- 2 medium eggs I would risk it with 1 large
- 2 tbsp caster sugar
- 120 ml milk I used oat milk
- 80 g plain flour
- 1 tsp vanilla extract
- a pinch of salt
- 20 g unsalted butter
Garnish
- berries frozen or fresh
- maple syrup
- icing sugar
Instructions
- Put your cast iron pan to the oven and preheat it to 230 C. You want the pan to get nice and hot so it will allow the pancake to grow nicely (similar method to making Yorkshire puddings).
- Beat the eggs with sugar until fluffy and pale. Gently whisk in the remaining ingredients (apart from butter).
- When your oven is hot, take the pan out with a pair of thick mittens (it will be extremely hot so be careful and have a trivet or wooden tray somewhere nearby if needed). Put the butter on the pan and swirl around to let it melt evenly. Once that's done, pour the batter in and quickly put it in the oven for about 20 minutes. Don't panic if it doesn't grow immediately- be patient and it will starting rising wonderfully.
- Serve with maple syrup, fresh fruit or anything you like.


